Check appliances, plumbing, outlets, locks, windows, walls, and floors during an apartment inspection. Record existing damage with photos and written notes.
An apartment inspection should cover the condition and function of everything from faucets and appliances to windows, locks, walls, floors, heating, and cooling. Before signing, use your inspection to spot problems and decide whether the apartment works for you. At move-in, document existing damage in writing and with photos so you have a record to compare against when you move out.
Use the printable checklist to record each item’s condition, existing damage, photo references, and repair follow-up. Bring a copy when touring and complete a fresh copy for the actual unit at move-in.
A personal checklist may not replace a condition form required by your landlord or state law. Requirements vary by location. For example, Massachusetts requires landlords who accept a security deposit to provide a signed Statement of Condition describing the apartment's condition and existing damage. Tenants generally have 15 days to return a corrected copy if they disagree with the statement.
What Should I Check During an Apartment Inspection?
Check these essentials before signing when possible, then inspect the actual unit again at move-in:
- Faucets, drains, and toilets: Test hot and cold water, drainage, flushing, and visible leaks.
- Included appliances: Run the stove, oven, refrigerator, dishwasher, microwave, washer, and dryer when permitted.
- Outlets, switches, and lights: Test each accessible outlet, switch, light, and ceiling fan.
- Heating and cooling: Adjust the thermostat and test the heat and air conditioning when conditions allow.
- Doors, windows, and locks: Confirm that each one opens, closes, latches, and locks properly.
- Walls, ceilings, floors, and carpet: Look for stains, holes, cracks, scratches, and water damage.
- Cabinets, counters, and fixtures: Check for chips, loose hardware, broken parts, and moisture.
- Possible moisture or pest problems: Note water stains, visible leaks, persistent mildew, or evidence of pests.
- The unit's overall condition: Take dated photos and complete a written condition report.
- Repair follow-up: Submit unresolved issues to management in writing and save the response.
What to Check Room by Room
A solid inspection means doing more than admiring the natural light. Open things. Run things. Flip switches. Look up, down, and under the sink.
If you're touring before signing, ask before operating anything that isn't already running. Once you move in, inspect the actual unit again and document what you received.
Kitchen Inspection Checklist
Refrigerator and freezer
- Open both doors, check the seals, and confirm that the doors close securely.
- Inspect shelves, drawers, handles, and door bins for missing or broken pieces.
- Note dents, stains, rust, scratches, or other existing damage.
- Confirm that the refrigerator and freezer feel cold if they're already running.
- Test an included ice maker or water dispenser when permitted.
- Look around and beneath the refrigerator for leaks or water damage.
Stove and oven
- Turn on each burner and confirm that it heats.
- Test the oven and confirm that it begins heating.
- Check knobs and controls for missing or broken pieces.
- Open and close the oven door.
- Inspect the oven interior for damage, heavy grease, or missing racks.
- Test the oven light if one is included.
Dishwasher and microwave
- Open and close the dishwasher door and confirm that it latches.
- Inspect the racks for rust, cracks, or broken wheels.
- Look for standing water or signs of leaks.
- Run a dishwasher cycle if management permits it and listen for unusual noises.
- Inspect the microwave door, handle, turntable, and interior.
- Test the microwave according to the manufacturer's instructions.
- Check the microwave light, fan, buttons, and display.
Sink and faucet
- Run both hot and cold water and confirm that the sink drains without backing up.
- Check the faucet and handles for dripping.
- Look beneath the sink while the water is running.
- Note moisture, stains, warped material, or active leaks.
- Test the garbage disposal if one is included and management allows it.
Cabinets, counters, and floors
- Open every cabinet and drawer.
- Note loose hinges, broken handles, stains, chips, or peeling material.
- Inspect countertops for burns, cracks, stains, and chips.
- Check the floor for cracked tile, torn vinyl, damaged boards, or stains.
- Inspect walls and backsplashes for holes, cracks, grease, or damage.
If you find a problem before signing, ask whether it will be repaired and get the answer in writing. At move-in, photograph the problem even if management has already promised to fix it.
Bathroom Inspection Checklist
Sink and vanity
- Run the hot and cold water and check how quickly the sink drains.
- Look around the faucet and basin for leaks.
- Inspect inside the vanity while the water is running.
- Note stains, cracks, chips, or water damage.
Shower and bathtub
- Turn on the shower and tub faucets and test both hot and cold water.
- Check the showerhead for steady water flow.
- Watch how quickly the tub or shower drains.
- Inspect grout and caulk for damage or discoloration.
- Check nearby walls and ceilings for peeling material or moisture.
- Note chips, cracks, stains, or damage in the tub or shower.
Toilet
- Flush the toilet and confirm that the bowl drains and refills normally.
- Listen for water that continues running.
- Check around the base for water.
- Confirm that the seat and lid are secure.
Ventilation and fixtures
- Turn on the exhaust fan if one is provided.
- Test every light and switch.
- Check mirrors, towel bars, shelves, and toilet paper holders.
- Note loose hardware or cracked fixtures.
- Inspect the floor and baseboards for water damage.
- Record existing stains, holes, or damaged surfaces.
If you see an active leak or significant moisture problem, document it with photos and bring it to your landlord or property manager's attention promptly.
Living Room and Bedroom Inspection Checklist
Walls and ceilings
- Look for nail holes, dents, cracks, stains, peeling paint, and patches.
- Check corners and areas behind doors.
- Inspect ceilings for discoloration or cracks.
- Photograph marks that could be mistaken for move-out damage later.
Floors and carpet
- Walk across the entire room.
- Note loose, cracked, warped, or damaged flooring.
- Photograph scratches or gouges in wood or laminate.
- Record cracked or chipped tiles.
- Look for carpet stains, burns, tears, fraying, or worn areas.
- Check baseboards for scratches, chips, or missing pieces.
Closets and storage
- Open every closet and test doors, knobs, tracks, rods, and shelves.
- Inspect the walls, ceiling, and floor inside each closet.
- Note stains, holes, broken shelving, or damaged hardware.
Lights, fans, blinds, and furniture
- Test lights, ceiling fans, and included blinds or shades.
- Note missing bulbs, damaged fixtures, torn blinds, or broken cords.
- Document the condition of landlord-provided furniture, including scratches, stains, tears, or broken parts.
HVAC, Plumbing, and Electrical Checklist
Heating and cooling
- Adjust the thermostat and confirm that it responds.
- Test the heat and air conditioning when conditions allow.
- Confirm that air or heat reaches the unit.
- Inspect accessible vents and radiators for visible damage.
- Listen for rattling, grinding, or other unusual noises.
- Record damage to the thermostat, vents, radiators, or AC equipment.
If weather makes testing impractical, ask when the system was last operated or serviced. Also ask how to report a problem that appears after move-in.
Electrical
- Test accessible outlets with a small device or outlet tester when permitted.
- Record outlets or switches that are loose, damaged, discolored, or inoperable.
- Confirm that outlet and switch covers are present and intact.
- Don't open electrical panels, remove outlet covers, or attempt repairs during your inspection. Report electrical problems to management.
Laundry
If the apartment includes a washer and dryer:
- Inspect both machines for dents, scratches, or damage.
- Open and close each door or lid.
- Test knobs, buttons, and displays.
- Look around the machines for signs of leaking.
- Run the appliances if management permits it.
Doors, Windows, Locks, and Outdoor Areas
Exterior doors
- Open and close each door and confirm that it closes fully.
- Test each lock from inside the apartment.
- Confirm that you received the correct keys or access devices.
- Inspect the door, frame, hinges, and hardware for damage.
Interior and closet doors
- Open and close each door and test knobs, handles, and sliding tracks.
- Note cracks, holes, scratches, or damaged hardware.
Windows
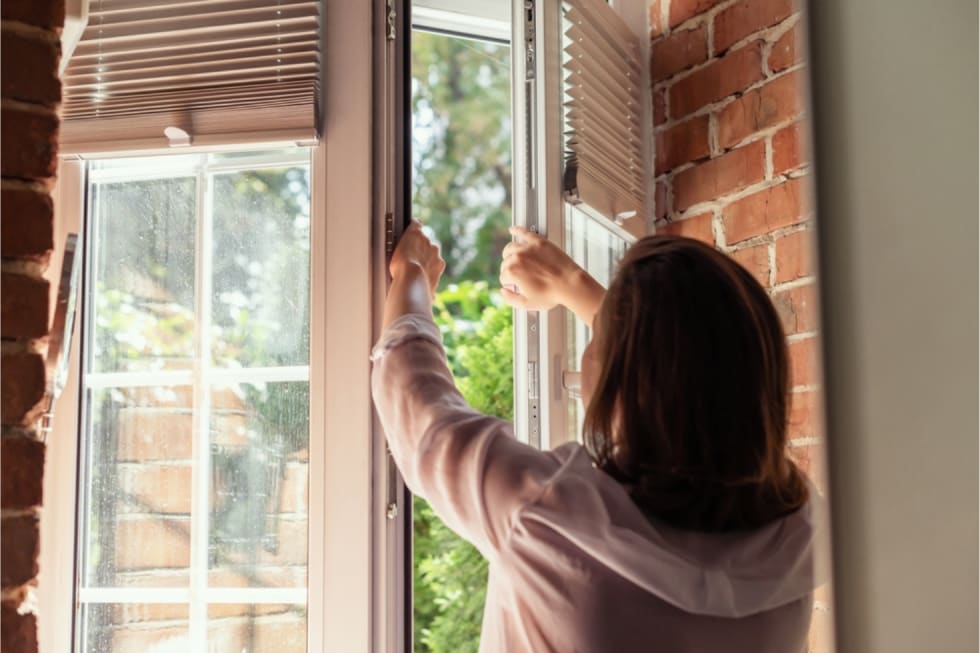
- Open and close every accessible window and test each window lock.
- Look for cracked or damaged glass.
- Inspect screens for holes, tears, or missing sections.
- Check sills and frames for cracks, stains, or peeling material.
- Test blinds or shades that come with the apartment.
Patios and balconies
- Visually inspect railings for obvious damage.
- Check doors, flooring, and other surfaces.
- Report loose railings or damaged walking surfaces.
- Don't attempt to repair a safety problem yourself.
What Are Red Flags During an Apartment Inspection?
Some problems deserve more attention than a chipped cabinet or scuffed wall. Red flags can include:
- Active leaks or unexplained water damage
- Persistent mildew or visible mold-like growth
- Sagging or significantly discolored ceilings
- Exposed or visibly damaged electrical wiring
- Loose or missing locks
- Inoperable outlets or switches
- Major appliance problems
- Evidence of pests
- Significant damage that management cannot or will not explain
- Safety hazards that need repair before move-in
Document serious issues and ask management how and when they will be addressed. If you're still apartment hunting, get repair commitments in writing before signing whenever possible.
What to Photograph During a Move-In Inspection
Your inspection isn't finished when the last box is checked. You need a record of what the apartment looked like when you received it.
Photograph every issue recorded on your checklist.
Start with wide photos of every room, then take close-ups of individual problems. A close-up shows the damage. A wider photo shows where it is.
Give each issue a simple reference number, such as K-01 for the first kitchen photo or BR-02 for the second bedroom photo. Add that number to the corresponding line on your checklist.
Keep the original photo files when possible rather than relying only on edited or compressed versions. A continuous walkthrough video can provide additional context, but it shouldn't replace clear photos and a written condition report.
How to Submit Your Move-In Condition Report
Send your completed report through a method that creates a record, such as email or your property's resident portal.
Include:
- Your name
- Your unit number
- Your move-in date
- A statement that you're submitting move-in condition documentation
- The completed checklist
- The photos or an accepted link to them
- A list of problems that need repair or follow-up
- A request for confirmation of receipt
Copy the management contact responsible for your lease or move-in when appropriate. Complete any landlord-provided condition form, too.
Save the sent message, attachments, confirmation, and management response. Keep your records throughout the tenancy and until any security deposit issues are resolved after move-out.
Move-In vs. Move-Out Inspections
Move-in and move-out inspections cover many of the same things, but they do different jobs.
| Before signing | Decide whether the apartment's condition works for you | Test features, identify problems, ask questions, and get repair commitments in writing |
| Move-in | Establish the apartment's starting condition | Complete a condition report, photograph existing damage, submit the records, and keep copies |
| Move-out | Compare the final condition with the starting condition | Review your original records, photograph the empty unit, and follow applicable inspection procedures |
For example, imagine the bedroom carpet already has a large stain. Photograph it, record it on the condition report, and submit the report to management. That record can help establish that the stain existed before your tenancy.
When move-out arrives, you can use Apartment List's apartment move-out inspection guide and move-out checklist to prepare.
How Can Inspection Findings Affect Your Security Deposit?
One of the biggest reasons to document an apartment at move-in is your security deposit.
Security deposit laws vary by state, including what landlords may deduct, what documentation they must provide, and when deposits must be returned. But the distinction between preexisting conditions, normal wear and tear, and tenant-caused damage can be especially important.
California's Department of Real Estate explains in its 2026 tenant guide that landlords cannot use a security deposit to charge tenants for preexisting defects or ordinary wear and tear.
Those rules are specific to California. Your own rights and your landlord's ability to make deductions depend on the laws where you rent.
Your move-in records can help establish the apartment's original condition if a security deposit deduction is disputed.
Normal Wear and Tear vs. Damage
Normal wear and tear generally describes deterioration caused by ordinary use and aging rather than tenant-caused damage.
Examples can include:
- Carpet gradually wearing down in high-traffic areas
- Faded paint or finishes
- Moderate carpet dirt or spotting
- Surfaces gradually wearing with age
Damage goes beyond ordinary wear. California's 2026 tenant guide, for example, distinguishes ordinary carpet wear from conditions such as large rips or indelible stains that may justify a deduction when repair or replacement is reasonably necessary.
These examples aren't universal. Whether a specific condition qualifies as deductible damage depends on applicable law and the facts of the situation.

What Will Fail an Apartment Inspection?
Inspection issues can include significant property damage, active leaks, exposed wiring, or inoperable required safety equipment. Whether an issue results in a failed inspection depends on the inspection type and applicable requirements. See our guide to what happens if you fail an apartment inspection for next steps.
What to Do If Your Landlord Disputes Your Findings
If your landlord disagrees with your move-in documentation, keep the conversation specific and in writing whenever possible.
Instead of writing, "The floor was already damaged," identify the exact condition:
Living room: approximately 18-inch scratch in flooring beside the window. See photos LR-03 and LR-04 submitted with the move-in checklist on September 1.
Keep your move-in checklist, original photos and videos, written correspondence, repair records, lease, landlord-provided forms, and move-out documentation together so you can refer back to the original condition if needed.
If you're disputing a security deposit deduction, check the rules that apply where you live. Massachusetts, for example, has specific Statement of Condition requirements, while California has its own rules governing security deposit deductions.
Don't assume another state's procedure applies to you. Look for renter guidance from your state attorney general, housing agency, courts, or local housing authority.
If you discover a serious problem while apartment hunting, ask whether it will be fixed before move-in. Get any promise in writing. Depending on the problem, you may decide the apartment isn't the right fit.
Frequently Asked Questions
What Should I Check During an Apartment Inspection?
Test faucets, drains, toilets, included appliances, outlets, lights, heating, cooling, doors, windows, and locks. You should also inspect walls, ceilings, floors, cabinets, counters, and fixtures, then document preexisting damage with dated photos and a written condition report.
Should I Inspect an Apartment Before Signing the Lease?
Inspect the actual apartment before signing whenever possible. A walkthrough lets you test features, identify problems, ask about repairs, and decide whether the unit's condition meets your expectations.
What Should I Document During a Move-In Inspection?
Document scratches, stains, holes, cracks, water damage, broken fixtures, appliance damage, flooring damage, and anything that doesn't work. Record each issue on the condition report, take clear photos, and submit the documentation through a method that creates a record.
What Is Considered Normal Wear and Tear?
Normal wear and tear generally means deterioration caused by ordinary use and aging rather than tenant-caused damage. Your jurisdiction's rules determine what a landlord can deduct from your security deposit.
California's 2026 tenant guide, for example, distinguishes ordinary wear and tear from damage that may justify a deduction. Rules vary by state and locality.
Can a Landlord Charge Me for Damage That Was Already There?
Rules vary by jurisdiction, but documenting preexisting damage helps establish that a condition existed before your tenancy. California, for example, prohibits deductions for preexisting defects.
Check the rules where you rent because security deposit requirements and procedures vary by state and locality.
How Long Should I Keep My Apartment Inspection Photos?
Keep your move-in checklist, original photos, videos, repair requests, and correspondence throughout your tenancy and until any security deposit issue is resolved after move-out. Keep the original files when possible.
Keep Your Checklist for Move-Out
An apartment inspection takes a little time now. It can save a lot of "Wait, was that already there?" later.
Test what should work. Document what's already damaged. Submit the condition report in writing. Then keep the records somewhere you can actually find them.
When move-out arrives, compare the empty apartment with your original notes and photos. Document the final condition before returning the keys.
For the rest of your move-in preparation, use our first apartment checklist.
Moving soon? Use our move-out checklist to stay organized, then review what to expect during an apartment move-out inspection.