18 DIY TikTok Decorations That You Need to Try

In the ever-changing realm of social media, anyone eager to embrace their inner do-it-yourselfer now has an abundance of resources and inspiration at their fingertips. TikTok, in particular, continues to wield major influence over apartment decor design trends.
Rather than pondering over what weekend project to undertake or scrolling endlessly until you happen upon something inspiring, explore our list of some of the most innovative apartment decor hacks TikTok has to offer. Whether you’re looking to optimize your current living space or add a touch of flair to your decor, you’ll find what you’re looking for below.
Let’s dive in!
TikTok Decoration Ideas [Apartment Edition]
Space Optimization
As the trend toward smaller living spaces continues, maximizing every square inch has become a skill in itself. Let’s take a look at some of TikTok’s most ingenious DIY space optimization hacks that’ll help you create a more spacious and functional living environment without compromising on style.
Laundry Room Decluttering
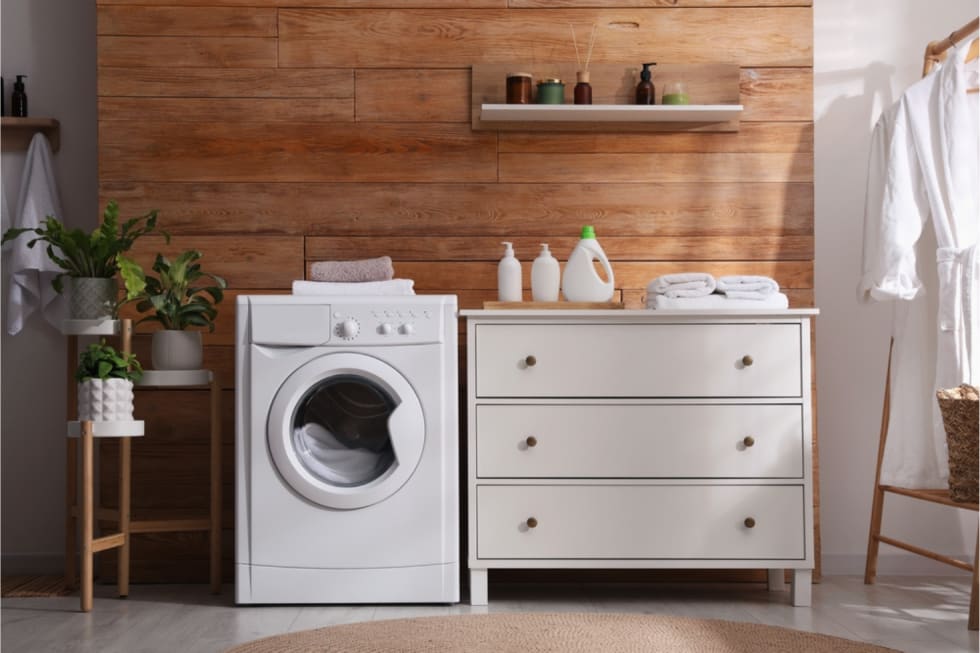
If you’re sick of the clutter caused by ugly, oversized laundry detergent containers, TikTok has a brilliantly simple laundry room space optimization hack that will not only streamline your laundry routine but keep up with the aesthetics of your home.
Difficulty Level (out of five): 1
Materials Required and Expected Costs
- Laundry detergent
- Five-gallon glass drink dispenser, $20-$60
Instructions:
- Unscrew the cap on the top of your laundry detergent container.
- Transfer the laundry detergent liquid into a charming glass drink dispenser of your choice.
- Toss your old laundry detergent container and enjoy your satisfying new laundry detergent container.
Kitchen Tupperware Organization
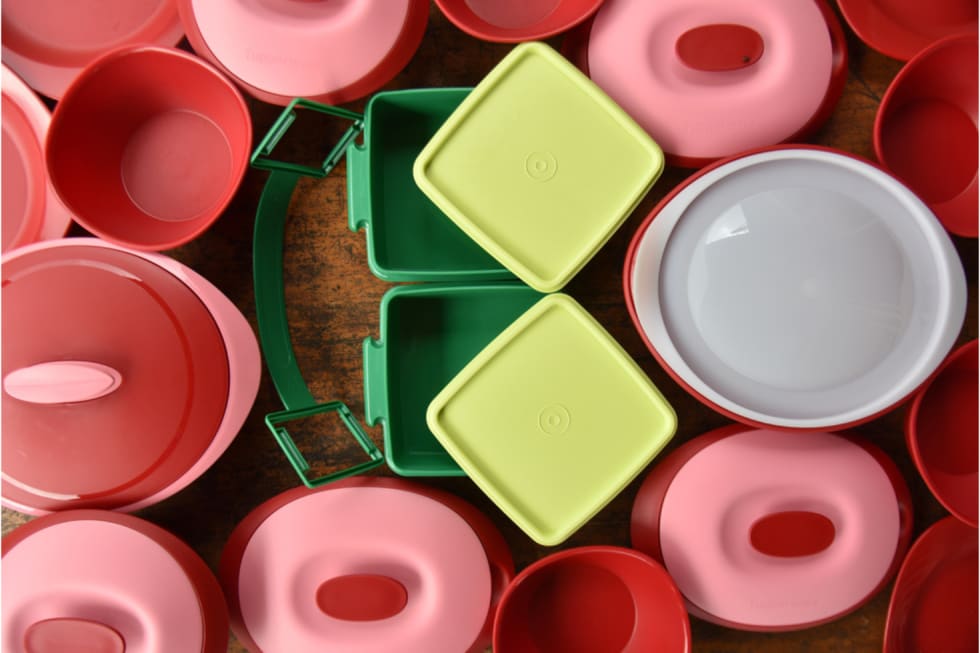
Continuing with TikTok’s trove of space optimization hacks, TikTok user @stephpase showed us just how easy it is to organize our otherwise cluttered Tupperware drawers into neatly organized storage space.
Difficulty Level: 1
Materials Required and Expected Costs
- Tupperware or glass containers and lids
- Tupperware organizers, $15-$30
Instructions:
- Remove containers and lids from your drawer and clean it.
- Measure the dimensions of the drawer to find compatible Tupperware organizers.
- Purchase the plastic Tupperware organizers that best suit your drawer's dimensions.
- Place the organizers into your drawer and sort your Tupperware containers by size and shape.
Vertical Entryway Storage for Small Spaces
Elevate your entryway’s organization game with this brilliant TikTok space optimization hack that involves using a small yet sturdy Command Strip shelf to neatly store your everyday essentials, such as keys, sunglasses, and hand sanitizer.
Difficulty Level: 2
Materials Required and Expected Costs
- Small Command Strip shelf, $12-$25
- Command Strips (may be included in your shelf purchase), $3-$10 (pack of multiple strips)
- Level
- Pencil
- Rubbing alcohol
- Paper towels
Instructions
- Find an accessible location for your Command Strip shelf in your entryway.
- Clean the chosen area on the wall with rubbing alcohol and a paper towel so that it’s free from dust, dirt, and oils.
- Attach the appropriate number of strips to the back of the Command Strip shelf as directed.
- Using a level, make sure the shelf is straight before firmly pressing it onto the wall.
- Once the adhesive has fully set, start organizing your entryway essentials!
DIY Hexagonal Shelves

If you want to step up your DIY game and make your space just a touch more magical, you can easily craft these stunning wood hexagonal shelves without breaking the bank.
Difficulty Level: 4
Materials Required and Expected Costs
- 5.5-inch one-by-six wood boards (number of boards depends on the desired number of shelves), $5-$15 per board (depending on initial plank length)
- Wood stain of your choice, $5-$15 (varies by brand and size)
- Wood or silicon glue (silicon glue will hold better for more imperfect cuts), $5-$10 per tube
- Painter's tape,_ $_3-$5 per roll
- Sandpaper
- Foam brushes or rags (for staining)
- Saw (to cut the wood, if necessary)
- Measuring tape
- Pencil
- Level
- Optional: Hanging hardware (screws, wall anchors, etc.)
Instructions
- Divide the one-by-six boards into 5.5-inch sections (or your desired length) and mark them with a pencil.
- Saw the boards to the correct size, ensuring a 30-degree angle on each side.
- Sand the edges and surfaces of the wood to smooth out any rough spots.
- Using foam brushes or rags, apply your chosen wood stain to the surfaces of the wood boards. Leave to dry.
- Ensuring the longest side of the wood boards is facing up, place the boards side by side in rows of six and use the painter’s tape to tape them together.
- Stand the boards up vertically (i.e., on their sides) and apply silicon or wood glue along the inner edge where the wood boards meet. Press the boards together to form the hexagon shape. Keep the painter’s tape on until the silicon dries.
- Once the silicon has fully dried, carefully remove the painter's tape.
Your shelves are ready to use! Style them on surfaces or use a level and measuring tape to hang them evenly on the wall. If needed, secure them using screws and wall anchors.
DIY Furniture
From inexpensive coffee tables to unique headboards, you’ll find several unique DIY furniture hacks on TikTok. Let’s take a look at some of our favorites that will inspire your inner craftsman.
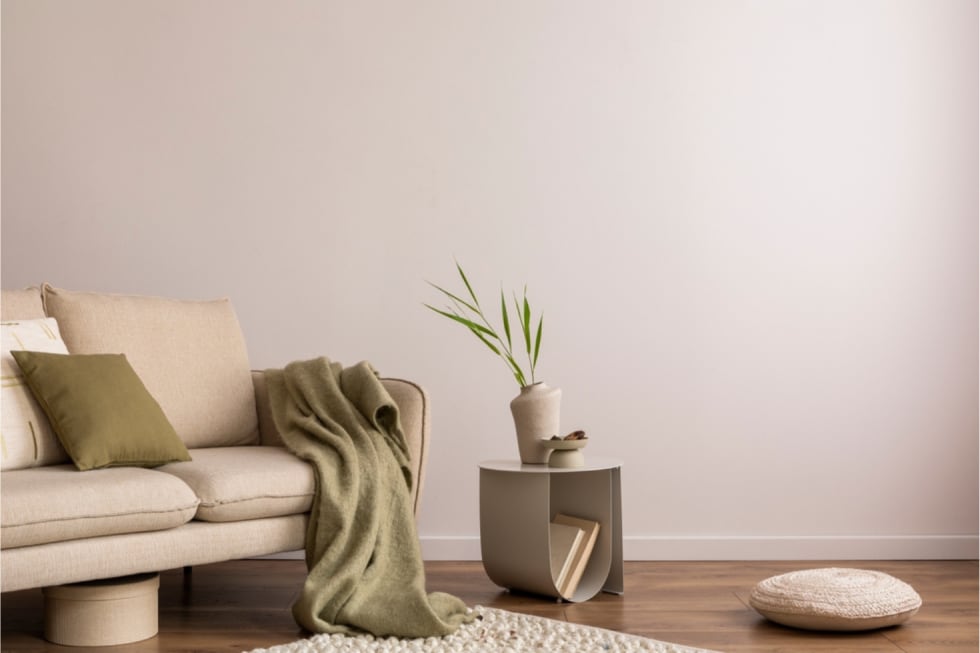
DIY Statement Vase
Nothing can elevate an interior space quite like plants, and with this innovative TikTok hack, you can turn any of your favorite large vases into a statement piece in your home.
Difficulty Level: 1
Materials Required and Expected Costs
- Large decorative plant or flowers, $20-$50+ (varies by type and size)
- Oversized statement _vase, $20+ (wide range of prices depending on brand and size)_
- Smaller glass vase (must fit inside statement vase), $10-$50
- Packing paper or tissue paper, $10-$20
Instructions
- Select an oversized statement vase and choose a decorative plant that complements its size and style.
- Select a smaller glass vase that can fit inside the oversized statement vase and accommodate the needs of the plant.
- Carefully place the glass vase inside the oversized statement vase.
- Use packing paper to stabilize and cushion the glass vase in the oversized statement vase.
- Fill the inner glass vase with water and arrange your plant in it, letting the foliage cascade over the rim of the vases and conceal the inner glass vase.
- Find the perfect spot to display your DIY plant pot — such as an end table, shelf, or windowsill — where it can get the sunlight it needs.
Inexpensive Travertine Table
Travertine is one of the most luxurious (and expensive!) stone materials on the market. Travertine coffee tables are all the rage, and luckily, this TikToker invented a hack that shows how a little ingenuity can go a long way for your bank account.
Difficulty Level: 2
Materials Required and Expected Costs
- Large stone pavers (travertine or similar), $10-$30 each
- Gorilla Glue, $5-$10
- Cloth
- Level
- Optional: Felt pads or rubber bumpers (for the table's base)
Instructions
- Wipe down your pavers with a clean cloth to create a clean bonding surface.
- Apply Gorilla Glue to the edges of one of the stone pavers. Attach the glue side of this stone paver to the center of another. The two pavers should be in the shape of a T. This will serve as the base of the table.
- Apply the adhesive to the top of the base. Place another stone paver on the adhesive-covered edge of the base paver.
- Press down firmly to secure the bond and use a level to make sure the top paver is even.
- To prevent the stone pavers from scratching your floors, we recommend attaching felt pads or rubber bumpers to the underside of the base pavers.
Trendy DIY Checkerboard Blanket
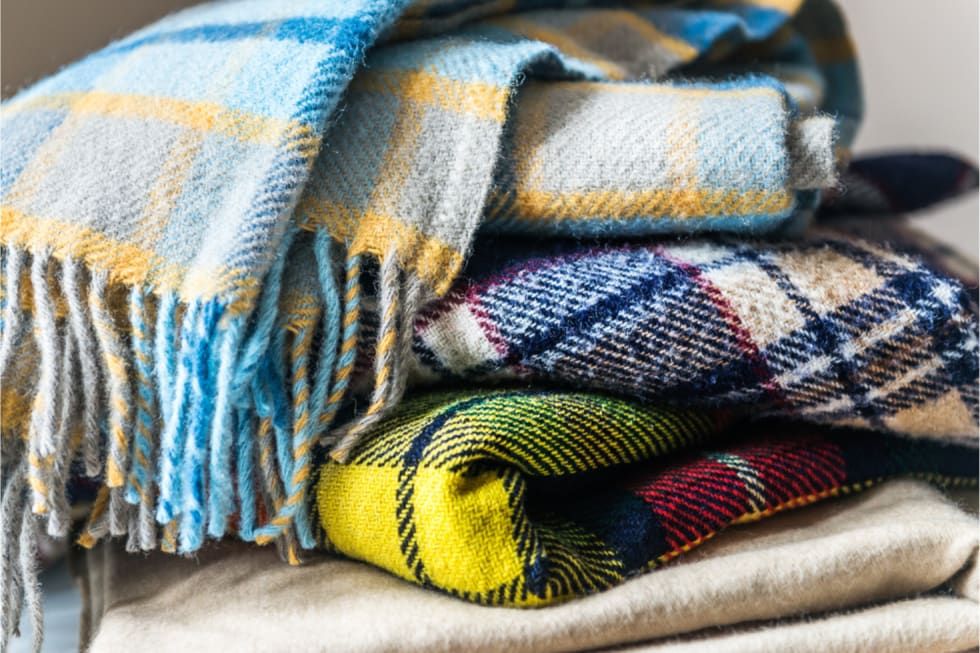
With this easy TikTok decor hack, you’ll give that boring old throw blanket new life using a trendy checkerboard pattern.
Difficulty Level: 3
Materials Required and Expected Costs
- Plain white throw blanket, $10-$30
- Paper square cutouts
- Upholstery spray paint in your chosen color, $5-$15 (depending on brand and size)
- Paper cutter, $12-$22
- Rocks (or something else heavy enough to secure the paper squares in place)
- Cardboard or plastic tarp (to protect the surrounding area)
- Scissors
- Ruler
- Pencil *Optional: Fabric spray sealer
Instructions
- Ensure the throw blanket is clean and free of wrinkles. Iron if necessary.
- Grab a square stencil or ruler and cut out precise, uniform paper squares from cardstock using a pencil and scissors or a paper cutter. The squares can be cut to your preferred size, but the recommended size is four and a quarter inches.
- Place cardboard or a plastic tarp underneath the throw blanket. Arrange the paper squares on the throw blanket to create the checkerboard pattern, making sure they are evenly spaced and aligned.
- Carefully spray paint over the entire blanket, covering the exposed areas between the paper squares.
- Once the paint is dry, gently remove the painter's tape and the paper cutouts.
- Optional: To help set the paint and ensure durability in your design, you can apply a fabric spray sealer.
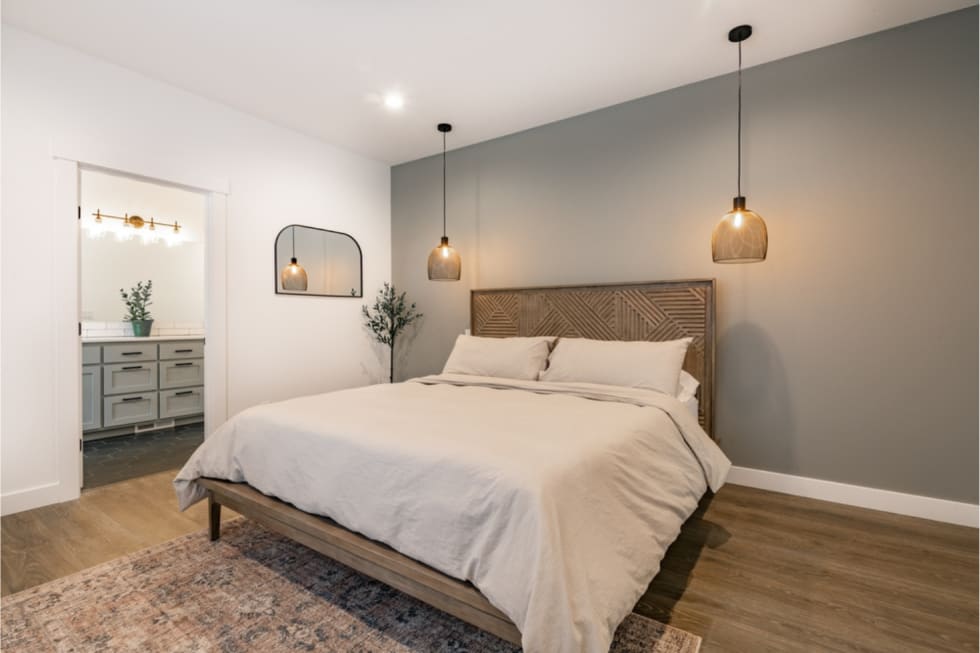
DIY Pool Noodle Headboard
With a batch of pool noodles and a little imagination, you can elevate your bedroom space without breaking the bank using this tufted pool noodle headboard hack.
Difficulty Level: 3
Materials Required and Expected Costs
- Pool noodles (number depends on headboard height), $1-$3 each
- Fabric of your choice (must be large enough to cover the headboard), $10-$30
- Quarter-inch plywood cut to the desired size
- Adhesive (fabric glue or hot glue), $3-$10
- Precision knife
- Ruler
- Drill and screws
Instructions
- Cut pool noodles down the center longways using your precision knife. You should be left with long half-cylinder shapes.
- Align the pool noodles side by side on your plywood to create the height of your headboard. Attach them using adhesive.
- Adhere your chosen fabric to your pool noodles and use a long, skinny object like a ruler to push the fabric into the noodle creases.
- Neatly tuck the fabric around the back of the headboard and screw it into the plywood using a drill and wood screws.
Bucket Stool

This striking yet minimalistic bucket stool can act as an understated piece of furniture in any room of the house.
Difficulty Level: 3
Materials Required and Expected Costs
- Three wooden legs (premade or DIY), $5-$15
- Concrete mix, $5-$10
- Large plastic bucket (size will determine seat diameter), $2-$5
- Sandpaper, $2-$5
- _Two m_ixing containers
- Water
- Protective gloves
- Level
Instructions
- Mix the concrete and water in one of the two buckets until you achieve a consistency like a thick pancake batter.
- In the second bucket, coat the bottom with a layer of nonstick spray to make it easier to release the concrete seat after it's set.
- Carefully pour the mixed concrete into the nonstick bucket. The depth of the concrete will determine the thickness of the seat. Tap the bucket gently against the ground to remove any air bubbles.
- Position the three wooden legs in a triangular pattern in the wet concrete and allow them to set.
- Once the concrete is completely dry, remove the stool seat from the bucket.
- Sand the concrete seat to create a smooth and polished finish.
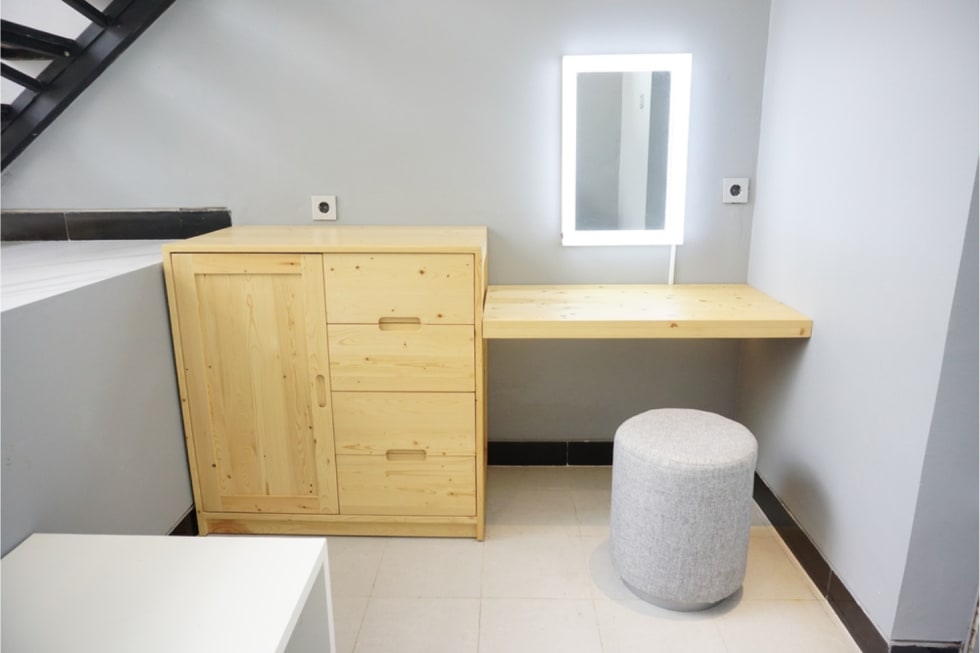
Giant Mirror for a Fraction of the Cost
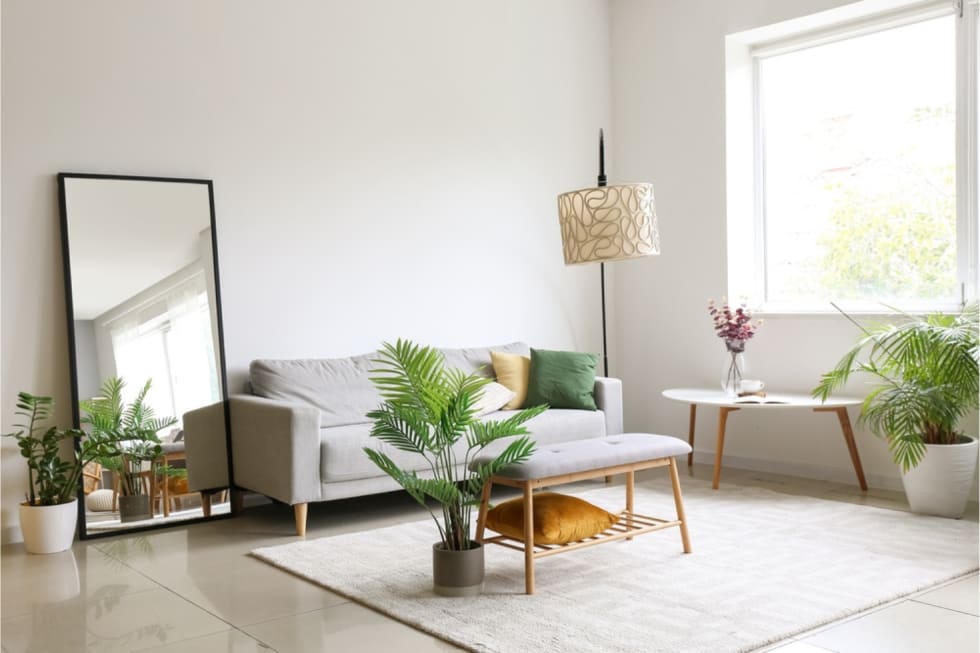
Give your room a larger-than-life look without spending hundreds of dollars using this ingenious giant mirror hack.
Difficulty Level: 4
Materials Required and Expected Costs
- Large piece of frameless rectangular mirror glass, $20-$50
- Large piece of plywood, $10-$20
- Wood for framing
- Wood glue
Instructions
- Measure the dimensions of your plywood and glass to cut the wood for framing. Make sure to leave a few inches around the perimeter. This will be helpful later in step four.
- Use wood glue to attach the frameless mirror to the large piece of plywood.
- Stain the frame with the desired color.
- Glue the frame pieces to the exposed plywood surrounding the glass to finish the mirror.
Lighting
Lighting can alter the vibe of a room like nothing else, adding ambiance and airiness with the flip of a switch. Let’s take a look at a few of the best lighting decor hacks TikTok has to offer.
Affordable LED Mirror
You could either pay hundreds of dollars for a premade LED mirror or make one yourself for under one hundred bucks! Check out this inventive DIY battery-powered LED mirror.
Difficulty Level: 1
Materials Required and Expected Costs
- Cheap glass-only standing mirror, $35-$75 (varies by size and quality)
- Battery-powered LED light strips, $10-$20
- Adhesive (e.g., Gorilla Glue), $5-$10
- Batteries
Instructions
- Place the mirror face-down on the floor.
- Unroll the battery-powered LED light strips and align them to the perimeter of the mirror.
- Carefully glue the battery pack and the LED strips along the edges of the mirror. (Some LED strips have an adhesive backing. If yours do, then skip the glue and use the adhesive backing they came with to secure them to your mirror.)
- Insert batteries into the battery compartment of the LED light strips.
- Hang the mirror on the wall. Test out your new LED-lit mirror!
DIY Farmhouse Light Fixtures
The rustic elegance that the farmhouse-style aesthetic provides is timeless. With this simple lighting hack, you can add a bit of nostalgic charm to your bathroom.
Difficulty Level: 2
Materials Required and Expected Costs
- Current bathroom sink light fixture
- Rustic finish metal spray paint, $5-$10
- Farm-style light cages (number depends on the number of light bulbs), $10-$20
- Fine-grit sandpaper, $2-$5
- Painter’s tape, $3-$5 per roll
- Screws and hardware, $2-$5
- Garbage bag
Instructions
- Remove the light bulbs and lightly sand your current fixture with a fine-grit sandpaper. This will ensure the spray paint adheres properly.
- Cover the wall around your lighting fixture with painter’s tape and/or a plastic garbage bag to protect it from unwanted spray paint.
- Apply three thin and even coats of your rustic spray paint to the light fixture, allowing each coat to dry fully before applying the next.
- Once the spray paint is dry, attach farmhouse-style light cages to each light bulb socket, using the appropriate hardware to secure them in place.
- Re-insert your light bulbs into the sockets of the fixture. We recommend Edison bulbs for that authentic farmhouse look.
Sconces Without Hardwiring
Looking for a renter-friendly way to spruce up your walls with elegant wall sconces? With this ingenious, no-hardwiring wall sconce hack, it’s easier than ever!
Difficulty Level: 2
Materials Required and Expected Costs
- Wireless wall sconce, $15-$40 (varies by style and brand)
- Remote-controlled battery-powered puck lights, $10-$20 (pack of multiple lights)
- Command Strips (appropriate for the weight of the lights and sconce), $3-$10 (pack of multiple strips)
Instructions
- Insert batteries into the remote-controlled battery-powered puck lights.
- Attach Command Strips to the back of each puck light and seat them inside the sconces.
- Clean and dry the area of the wall where you plan to attach the sconce and attach the Command Strip where the end of your sconce lights will sit.
- Remove the backing from the Command Strips and attach the sconce to the wall.
DIY Pendant Lighting
Pendant lights are in, and this unique little TikTok lighting hack can help illuminate your kitchen island without any complicated wiring.
Difficulty Level: 3
Materials Required and Expected Costs
- Two metal mixing bowls of different sizes (size and style of your choice), $10-$20 each
- Metallic-finish spray paint, $5-$10
- Remote-control battery-powered puck lights, $10-$20 (pack of multiple lights)
- Gorilla Glue, $5-$10
- Ceiling hook, $2-$5
- Paracord, $5-$10
Instructions
- Clean and dry the surface of your metal bowls. Roughening the surface slightly with sandpaper can improve the adherence of the spray paint and adhesive.
- In a well-ventilated area, apply metallic-finish spray paint to the exterior of the metal bowls.
- Attach the puck lights to the interior of the larger metal bowl using adhesive.
- Apply Gorilla Glue to the bottom of one bowl and press it firmly onto the bottom of the other bowl to fuse them in an hourglass shape.
- Apply more Gorilla Glue to the inside of the smaller bowl and attach the ceiling hook.
- Tie the paracord in a knot around the hook and hang the light from the ceiling.
Aesthetic Enhancements
Ready to bring your interior space to life? Check out these top-notch TikTok aesthetic enhancement hacks!
Vertical Blind Refresh
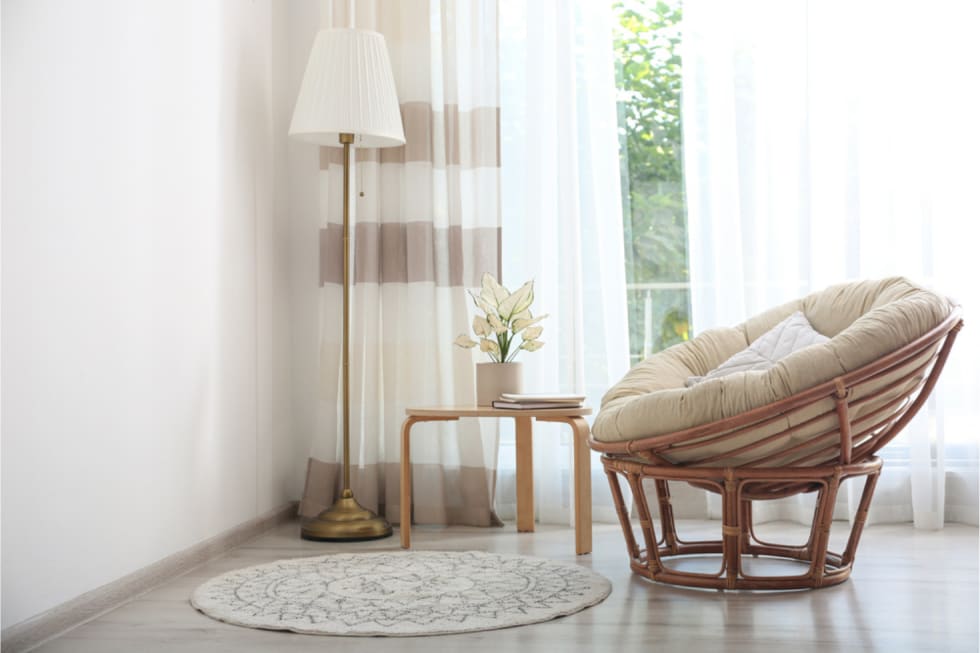
There’s nothing quite like the depth and appeal of curtains, and with this vertical blind refresh, you can upgrade the look of any windows in your home.
Difficulty Level: 2
Materials Required and Expected Costs
- Curtain brackets, $10-$30
- Curtains, $20-$50+ per pair
- Screws and screwdriver
Instructions
- Remove the vertical blinds from the clips, rubber banding them together to store them away to replace when you move out of your apartment.
- Attach your curtain bracket to the top of the bar of your blinds according to the manufacturer’s instructions.
- Assemble the curtain rod with the curtain and hang it from the curtain brackets according to the manufacturer’s instructions.
- Hang your curtains on the curtain rod.
Peel-and-Stick Tile Installation
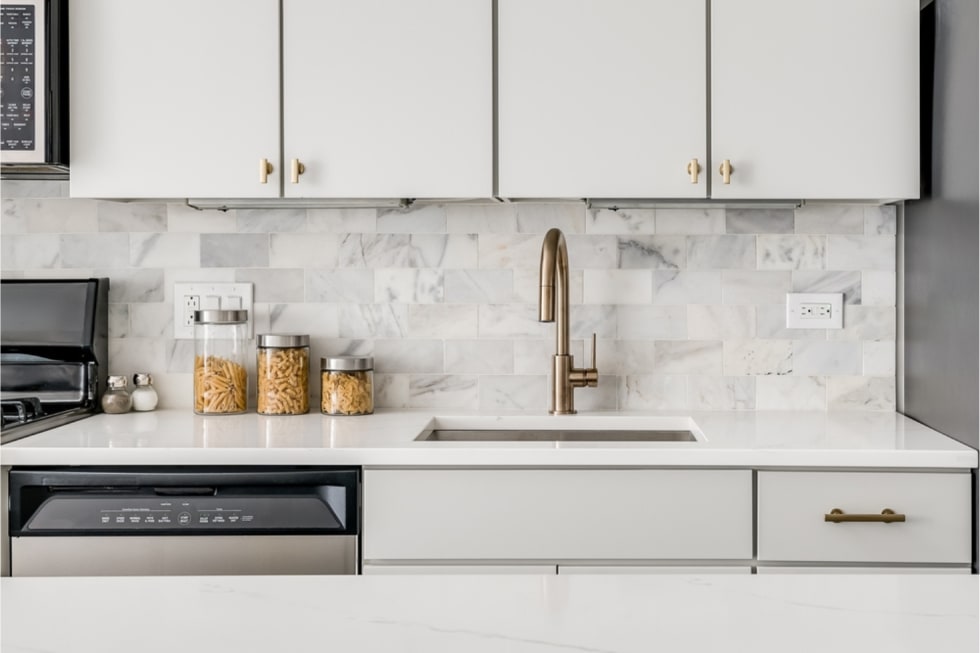
Say goodbye to your bland kitchen aesthetic and hello to the modern personality of a tile backsplash using this easy peel-and-stick backsplash hack.
Difficulty Level: 4
Materials Required and Expected Costs
- Peel-and-stick kitchen backsplash tiles (quantity depends on the size of the area), $20-$50 per pack (varies by brand and quantity)
- Measuring tape
- Utility knife or scissors
- Cleaning supplies (soap, water, and a clean cloth)
- Optional: Temporary caulk, $3-$10
Instructions
- Clean the wall surface with soap, water, and a clean cloth, allowing it to dry completely before proceeding to step two.
- Measure the area you intend to cover with the peel-and-stick tiles to determine how many tiles you'll need and in what arrangement they’ll sit.
- Apply the peel-and-stick tiles starting at a corner of the wall, using a level to ensure it's straight before adhering it to the wall. Continue along the wall with the other peel-and-stick tiles, ensuring that each is as level as the first.
- Use a utility knife or scissors to cut tiles to fit around outlets, switches, and cabinets.
- If you want a more finished look, you can apply temporary caulk along the edges of the backsplash where it meets the wall or cabinets.
Contact Paper

There are so many ways to create a new aesthetic for your home using contact paper, and this little hack is great for elevating your kitchen counter space.
Difficulty Level: 4
Materials Required and Expected Costs
- Contact paper (enough to cover your countertops), $10-$30+ per roll
- Measuring tape
- Utility knife
- Cleaning supplies (soap, water, and a clean cloth)
- Optional: Squeegee or credit card (for smoothing out air bubbles)
- Optional:Temporary caulk, $3-$10
Instructions
- Thoroughly clean your countertops with soap, water, and a clean cloth to remove any dirt, grease, or debris.
- Starting at one end of the countertop, peel a small portion of the backing from the contact paper and align it with the edge of the countertop.
- Slowly peel off more backing and continue along the countertop, smoothing the contact paper onto the surface as you go.
- Using a credit card or squeegee, get rid of air bubbles as you apply the contact paper, working from the center outward.
- Use a utility knife to trim any excess paper along the edges.
- For a more polished look, apply caulk where the countertop meets the wall.
Budget-Friendly Wall Murals
If you don’t want to spend hundreds of dollars on wallpaper for your room, check out this abstract wall mural hack.
Difficulty Level: 5
Materials Required and Expected Costs
- Projector with clear resolution, $100-$500 (varies by brand)
- Digital image of the mural you want to paint
- Paints (latex, acrylic, or other suitable wall paint), $20-$50 (varies by brand, type, and quantity)
- Paintbrushes, $10-$30
- Drop cloths or plastic tarps
- Painter’s tape
- Pencil
Instructions
- Find an image or design that’s suitable for a mural.
- Clean and dry the wall where you will be painting.
- Position the projector in your room so that it’s stable and straight. Connect it to your laptop or computer.
- Adjust the size and positioning of the projected image so that it matches your mural dimensions.
- Trace the mural lightly using a pencil.
- Paint the mural with your chosen colors using the traced outline as a guide.
Embrace Comfort: Find Your Dream Apartment Today!
TikTok has become an extraordinary platform for DIY enthusiasts. From DIY furniture to aesthetic enhancements, you can use the hacks above to elevate your space and infuse your home with your personal style!
If you’re still in the market for your dream apartment, give yourself a head start by taking Apartment List’s personalized quiz! With us, you’ll spend 5 minutes and save 50 hours searching.
Share this Article


Explore properties in Columbus, OH


